5 Steps To Repair Your Roof
The day of your roof repair has finally arrived! You’ll no longer have to deal with the roof leaks and damage plaguing your home.
While you may be getting a roof that will give you peace of mind for years, you still have to get through the day of your appointment.
Did your contractor walk you through the repair process? Do you know what to expect from the experience?
Rescue My Roof has been repairing roofs in Southeastern Wisconsin for over a decade. We’ve helped thousands of happy homeowners through the repair process with excellent results.
We understand that repairing your roof can be nerve-racking. That’s why we’re here to explain the process so that you’ll be prepared and at ease when the day comes.
By the end of this article, you’ll know your contractor’s steps to repair your roof and it will ease your pre-roof repair jitters.
5 Steps To A Roof Repair
Knowing exactly what you’re getting yourself into with a roof repair will give you peace of mind and allow you to prepare for what the day will look like.
Here are the five basic steps for every roof repair:
1. Roofing Materials Delivery

The first step in the roof repair process is delivering all necessary roofing materials. Typically, they will be delivered the day before or the morning of the repairs.
The roofing material delivery will depend on the size of your roof and the number of repairs.
If it’s a minor repair (like a tiny leak), it may be possible for your repair person to bring the ordered materials with them.
If they repair multiple leaks or blown-off shingles, these materials may have to be delivered to your home.
They should be kept in a dry area near the roof access site when they are delivered.
2. Home Protection

During the repair process, the last thing you’d want is a disaster to strike and result in further repairs.
Your repair person will take the utmost caution and use different tactics to ensure your home is safe during repairs.
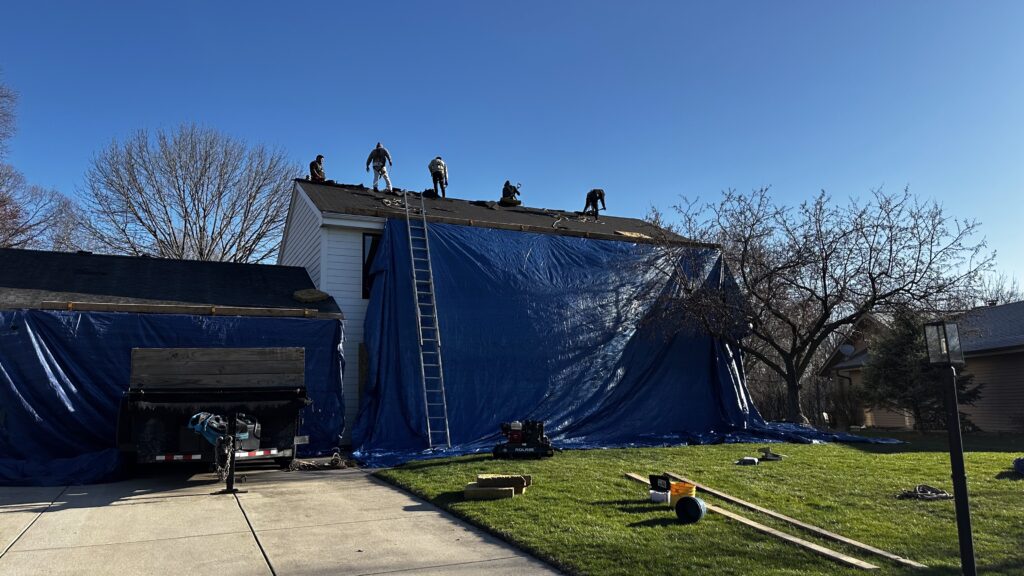
This may mean using tarps to cover siding and landscaping or plywood to protect windows and screen doors.
Depending on the scale of the repairs, there may be other steps you should take before the appointment. Things like moving law ornaments or covering patio furniture may be necessary.
Read “7 Things to Complete Before Your Roof Replacement” to learn everything you should do before any roof repair or replacement.
3. Tear-Off Old Roofing

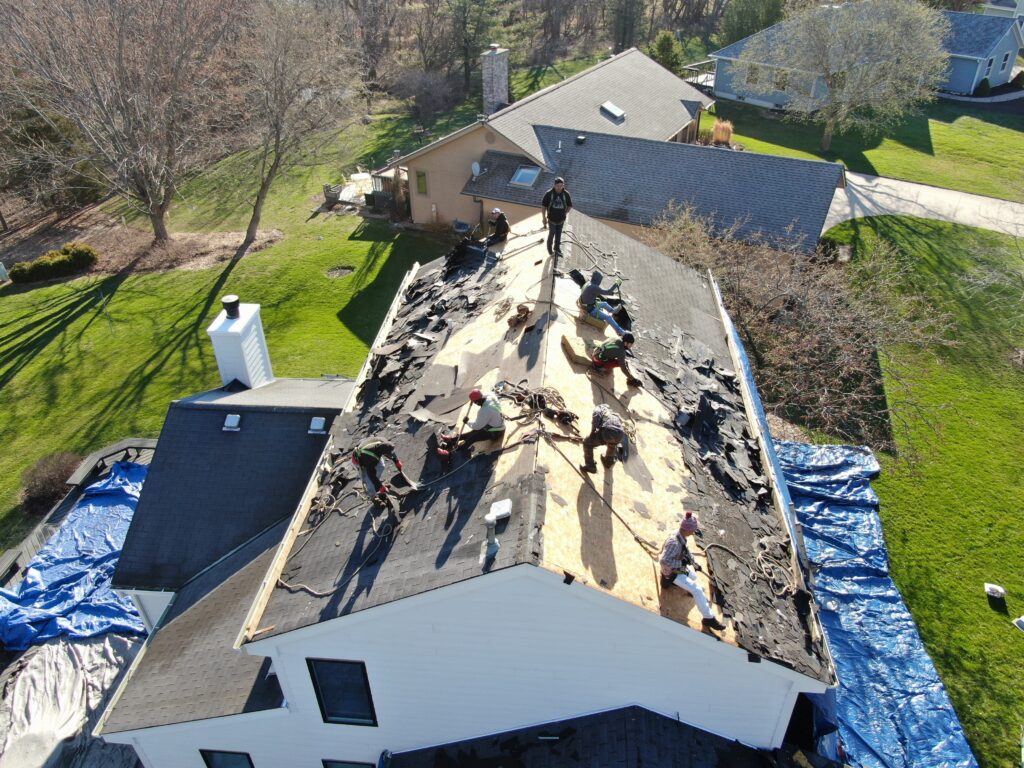
A repair person will tear off all necessary areas of your roof down to the decking to ensure everything is water-tight at the end of your appointment.
The shingles, underlayments, and flashings in the area will be removed during tear-off.
During this step, a contractor may find additional issues that were not initially visible. If this is the case, they may have to tear off other areas of your roof or may recommend a total roof replacement in the near future.
If they strip the roof down to the decking and notice the decking is damaged, they may also replace the damaged decking before re-installing your roof.
4. Install Roofing Materials
What was torn off must go back on. After the tear-off, your contractor is ready to install the new materials on your roof.
The first step is replacing any decking to ensure the rest of your roof has a reliable foundation.
Next, they will install underlayments to protect your roof against water damage.
Following the underlayments is flashing. Flashings are made up of metal pieces fitted around penetrations in the roof like chimneys or exhaust vents.
If the affected area is closer to the gutter, they may install a flashing device called a drip edge to protect your home’s siding from experiencing issues with excess water.
The final step is installing new shingles. Once you see the shingles going on, the process is almost done!
5. Cleanup
After the repairs have been made, it’s time to begin the cleanup process.
Your contractor will roll up any tarps, collect their tools, and ensure the ground is nail and debris free.
You may find them using a rolling magnet throughout your yard to ensure no nails or metal pieces left behind.
After the contractors leave, it should look like they weren’t there at all.
6. Walkthrough
A high-quality repair person wouldn’t leave you in the dark about what was done to your home.
After the job is done, they should conduct a walk-through with you to show you the repairs and talk them over.
If you have any questions or concerns, this will be the time to ask them. Additionally, they should discuss the steps to take should you encounter any additional issues.
Ready to Hire A Roofing Contractor?
Now that you know exactly how the repair process happens, iron out a few other details.
You may be wondering how long the process takes or how much it will cost. Both of these answers vary depending on your roof’s size.
However, many repairs only take a day to complete. As for pricing inquiries, you can read “How Much Does It Cost To Repair My Roof” to get an idea of how much your repairs may cost.
The next step is to find a high-quality roofing contractor to build the roof of your dreams. You deserve the best quality roof available, and to help you find the best contractor, we’ve put together some additional resources.
Read “9 Questions You Should Ask Before Hiring A Roofing Contractor” and “The 5 Best Roofing Companies in Milwaukee” to learn more.
Rescue My Roof has been the best in the industry for over a decade, serving thousands of homeowners in Southeastern Wisconsin. We know what it takes to repair your roof quickly and efficiently, leaving you with the best results possible.
If you’re local to Wisconsin, don’t hesitate to contact us to get your free, fast, and honest roof evaluation today.


