What to Do If You Notice a Roof Leak: Immediate Steps to Take
Discovering a roof leak can be stressful, especially when the rain is pouring and water is seeping into your home. Roof leaks, if left unattended, can lead to significant water damage, mold growth, and costly repairs. But you can take immediate action to minimize damage and help you address the issue effectively.
Rescue My Roof has been a leading educator in the roofing industry for over a decade. We’ve helped thousands of homeowners solve their roof leak issues. We’re here to help you, too.
In this blog, we’ll cover the essential steps you should take as soon as you notice a roof leak. Ultimately, you’ll know how to prevent further damage until a professional can make repairs.
7 Things to Do When You Notice A Leak
When you first spot a leak in your roof, it can be easy to panic—but quick, decisive action can help you minimize damage and protect your home.
Here are 7 essential steps to take when you notice a roof leak, from immediate measures to longer-term solutions.
1. Act Fast: Protect Your Home’s Interior
The first step when you notice a roof leak is to protect the interior of your home. Water damage can ruin walls, ceilings, furniture, and personal belongings, so it’s important to minimize the impact. Here’s how to protect your home:
- Move furniture and valuables: Relocate any furniture, electronics, or valuables away from the affected area to prevent water damage.
- Catch the water: Use buckets, pans, or any waterproof container to catch the dripping water. This will help keep the floor dry and prevent further damage.
- Cover with plastic: If you’re unable to move larger furniture or belongings, cover them with plastic tarps or sheets to protect them from water exposure.
- Use towels: Place towels or absorbent materials on the floor around the leak to soak up water that might escape from your containers.
2. Relieve Water Pressure from a Sagging Ceiling
If the leak has caused water to accumulate in your ceiling, you may notice a sagging or bubbling area. While it may seem counterintuitive, it’s important to relieve the water pressure before it becomes worse and causes the ceiling to collapse.

- Poke a small hole: Use a screwdriver or sharp object to carefully poke a small hole in the center of the sagging area. This will allow the trapped water to escape in a controlled manner, preventing further damage.
- Prepare for water: Place a bucket or container directly underneath the hole to catch the water. Be prepared for a significant amount of water to come through, depending on the size of the leak.
3. Identify the Source of the Leak
Once you’ve contained the water and protected your home, the next step is to try to locate the source of the roof leak. This can be tricky, as water doesn’t always travel in a straight line. It may enter the roof at one point and leak into your home in another area. Here’s how to start looking:
- Inspect the attic: If you have access to your attic, use a flashlight to look for signs of water, such as wet insulation, stains, or damp spots on the ceiling or walls. Follow the trail of water to determine where it’s coming from.
- Check the roof from the outside: If it’s safe to do so and the weather has cleared, inspect your roof from the outside. Look for damaged or missing shingles, cracked flashing, or debris that may be blocking proper drainage.
If you can’t identify the exact source of the leak, don’t worry—roofing professionals have specialized tools and expertise to find and fix leaks.
4. Apply a Temporary Fix (If Safe)
If you’ve identified the source of the leak and the weather permits, you can apply a temporary fix to prevent more water from entering your home. Remember, this is only a stopgap solution until a professional can repair the roof. Here are a few quick temporary fixes:

- Tarp the roof: Place a waterproof tarp over the damaged area of your roof to stop more water from getting in. Secure the tarp with heavy objects like bricks or boards, making sure it extends over the edge of the roof.
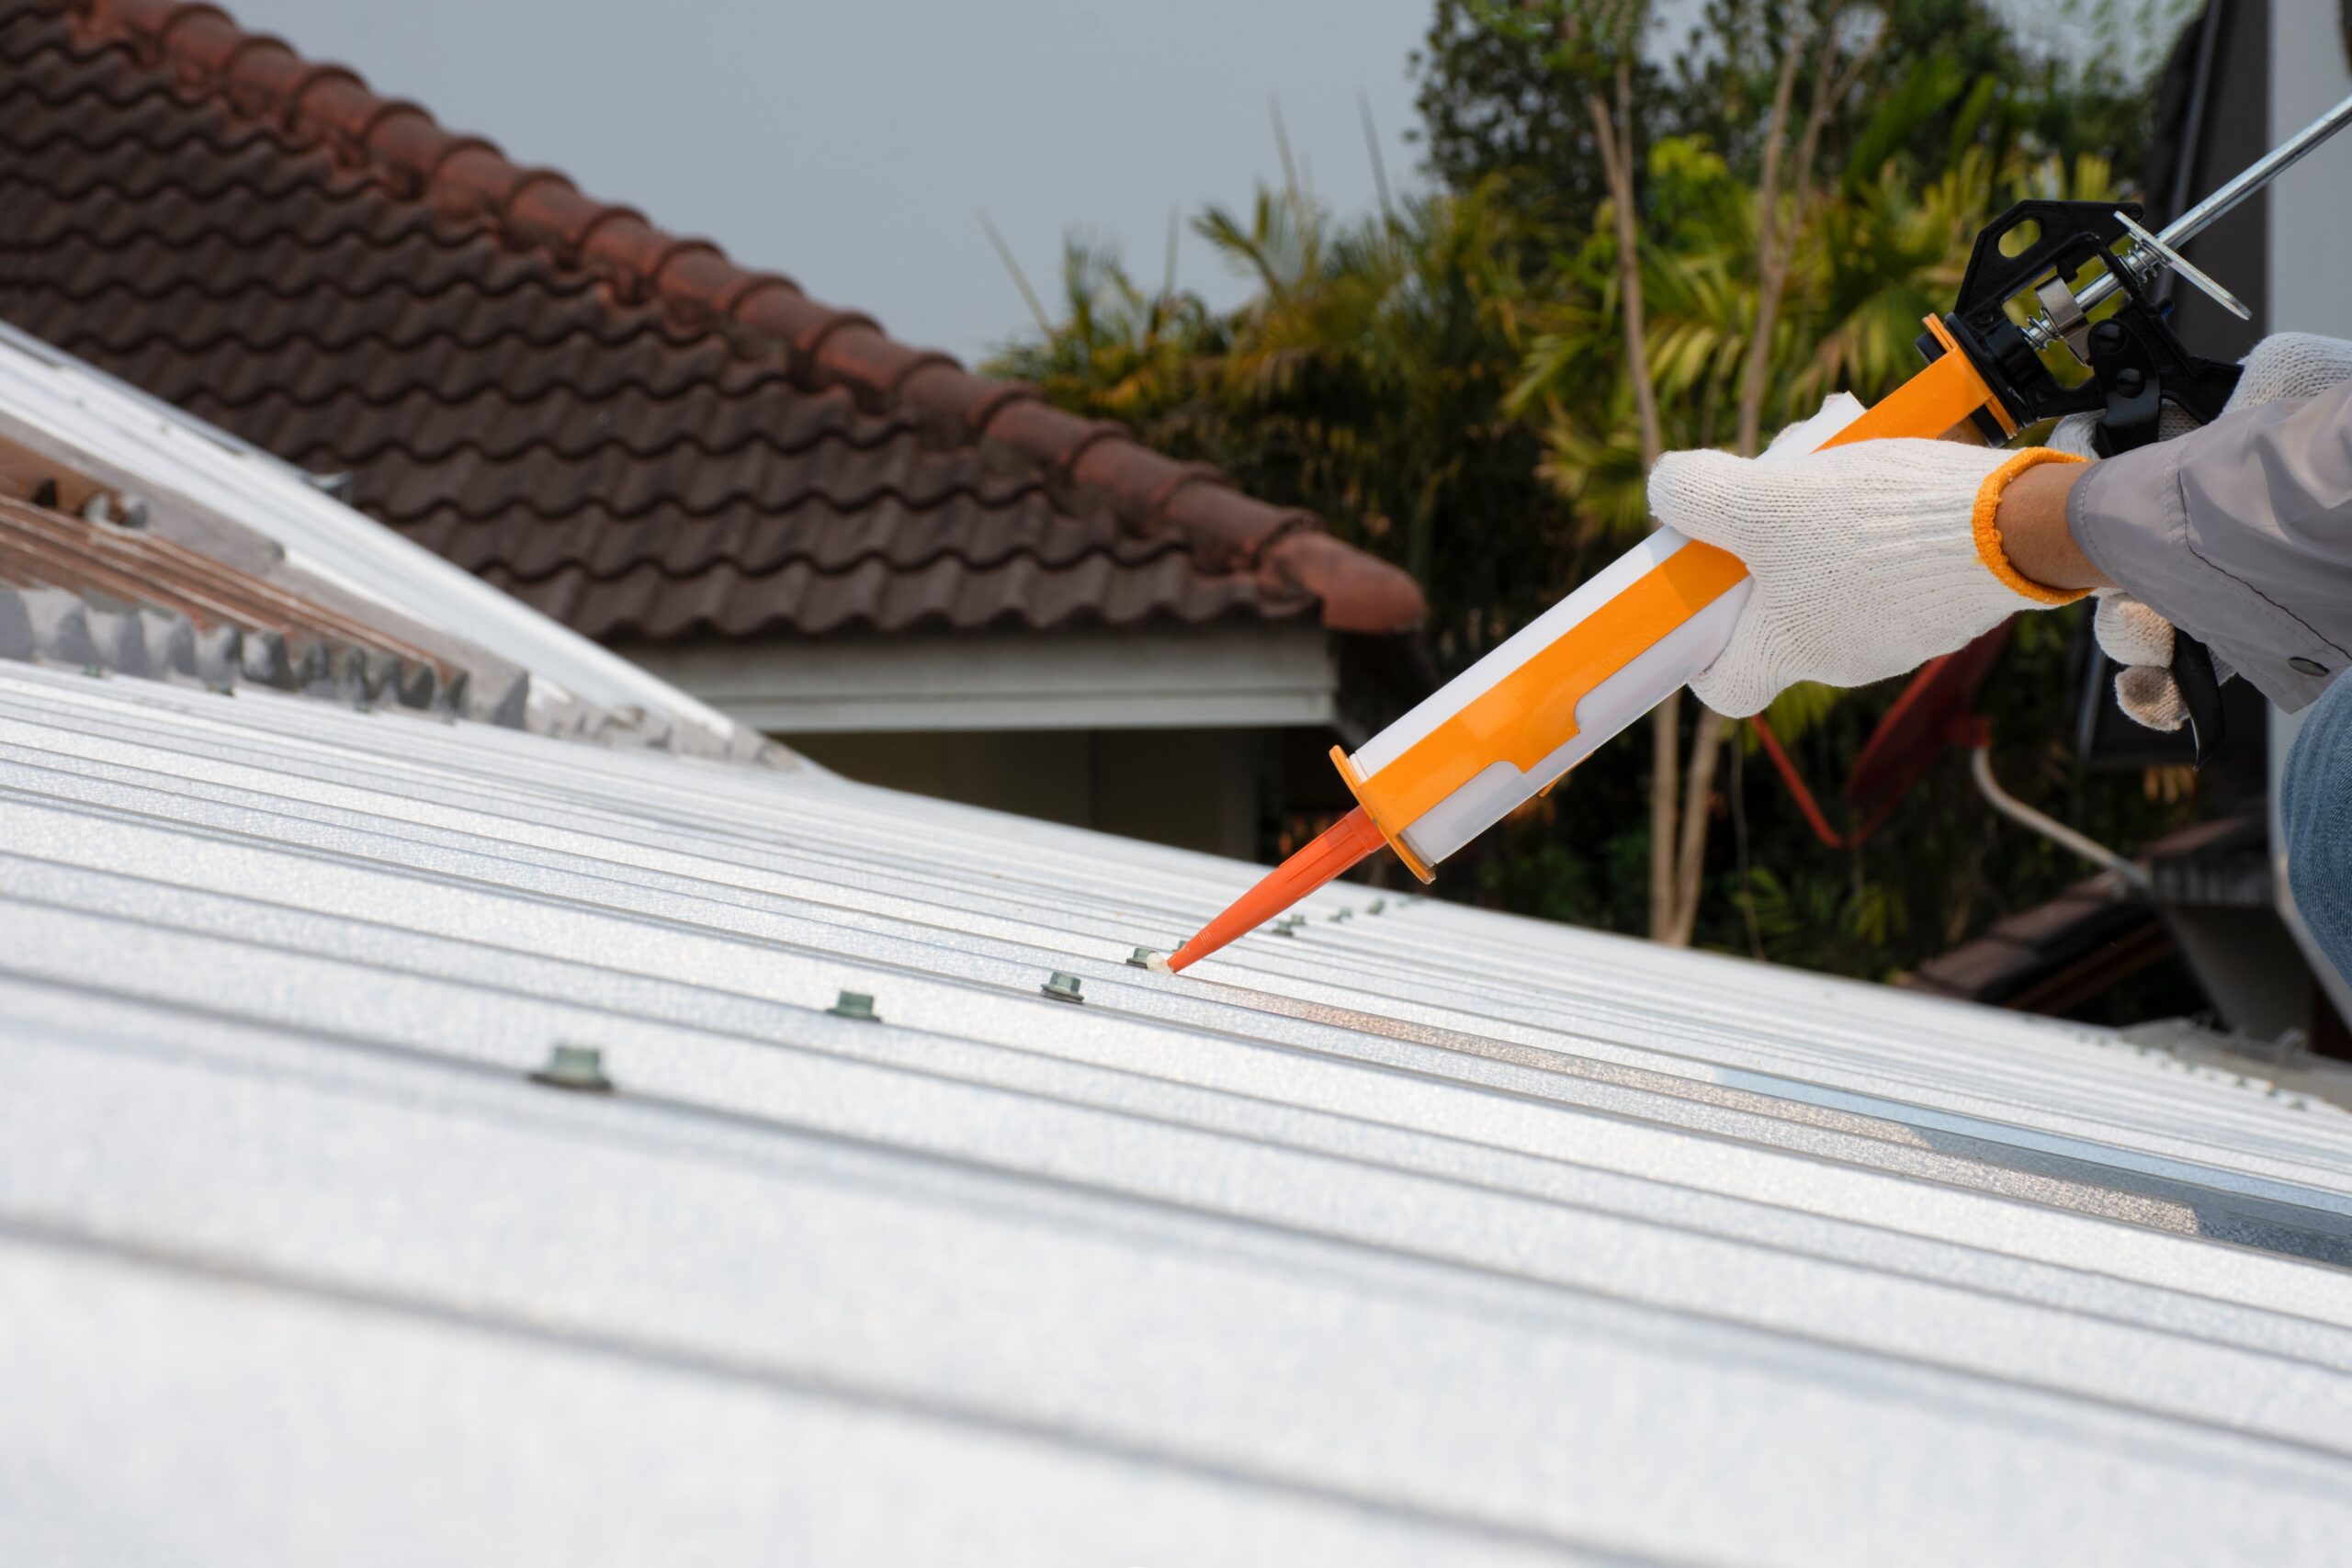
- Seal the leak: If the source of the leak is small, you can apply roofing sealant or caulk to temporarily stop the water. This works best for minor leaks around flashing or vents.
A temporary fix is just that – temporary. For a long-term solution you will need to contact a professional.
5. Document the Damage for Insurance Purposes
If the roof leak has caused significant damage to your home, it’s important to document everything for insurance purposes. Take the following steps:
- Photograph the damage: Take clear photos of the affected areas, including any damage to the roof, ceilings, walls, floors, and belongings.
- Keep receipts: Save any receipts for temporary repairs, materials (such as tarps or sealant), and cleanup costs. Your insurance may reimburse you for these expenses.
- File a claim: Contact your homeowner’s insurance provider to report the leak and file a claim. Be sure to provide all necessary documentation and evidence of the damage.
6. Contact a Professional Roofer for Repairs
While temporary fixes can help stop further water damage, it’s essential to get your roof professionally inspected and repaired as soon as possible. Roof leaks rarely go away on their own and tend to worsen over time. A professional roofer can:

- Inspect the roof: Roofing professionals will thoroughly inspect your roof, both inside and out, to identify the source of the leak and assess the extent of the damage.
- Repair or replace damaged areas: Depending on the severity of the leak, they may repair or replace damaged shingles, flashing, vents, or other roofing components.
- Prevent future leaks: A professional roofer will ensure that your roof is properly sealed and reinforced to prevent future leaks, giving you peace of mind during the next storm.
7. Prevent Future Roof Leaks
After addressing the immediate issue, it’s important to take steps to prevent future roof leaks. Regular roof maintenance can help you avoid costly repairs and keep your roof in top condition. Here’s what you can do:
- Schedule regular roof inspections: Have your roof inspected at least once a year, especially before and after storm season. A professional roofer can spot minor issues before they turn into major problems.
- Keep your gutters clean: Clogged gutters can cause water to back up and seep under your roof’s edge. Clean your gutters regularly to ensure proper drainage.
- Trim overhanging branches: Trees and branches can cause damage to your roof during high winds or storms. Trim back any overhanging limbs to prevent them from falling on your roof.
Protecting Your Home Against Damage
Roof leaks can cause serious damage if not addressed promptly, but by acting quickly and following these steps, you can protect your home and minimize the impact.
Remember to contain the water, locate the source of the leak, and apply a temporary fix if necessary. Most importantly, contact a professional roofer to make permanent repairs and ensure the integrity of your roof moving forward.
If you’re dealing with a roof leak or want to prevent future issues, don’t hesitate to reach out to a trusted roofing contractor. They can provide expert advice, thorough inspections, and quality repairs to keep your roof in top condition for years to come.
Learn more with “10 Key Things to Do When Your Roof Leaks” and “Unveiling Roof Leaks: Exploring the Most Common Culprits.”
Are you currently dealing with a roof leak? Rescue My Roof can help. Contact us today to get a FREE estimate.


