5 Steps to Remove Moss from a Roof

Moss growth on a roof may give your home a rustic, storybook look, but it’s far from charming when it starts to damage your shingles. Left unchecked, moss can retain moisture, cause wood rot, and even lead to costly repairs.
If your roof has developed a green, fuzzy layer, it’s time to take action. But how do you remove moss safely?
For over a decade, Rescue My Roof has been a leading educator in the roofing industry. We’ve helped thousands of homeowners maximize their roof’s lifespan. Now, we’re here to help you, too.
In this article, we’ll cover how to safely and effectively remove moss from your roof while preventing future growth. Ultimately, you’ll know how to handle moss like a pro.
Why Moss is a Problem for Your Roof
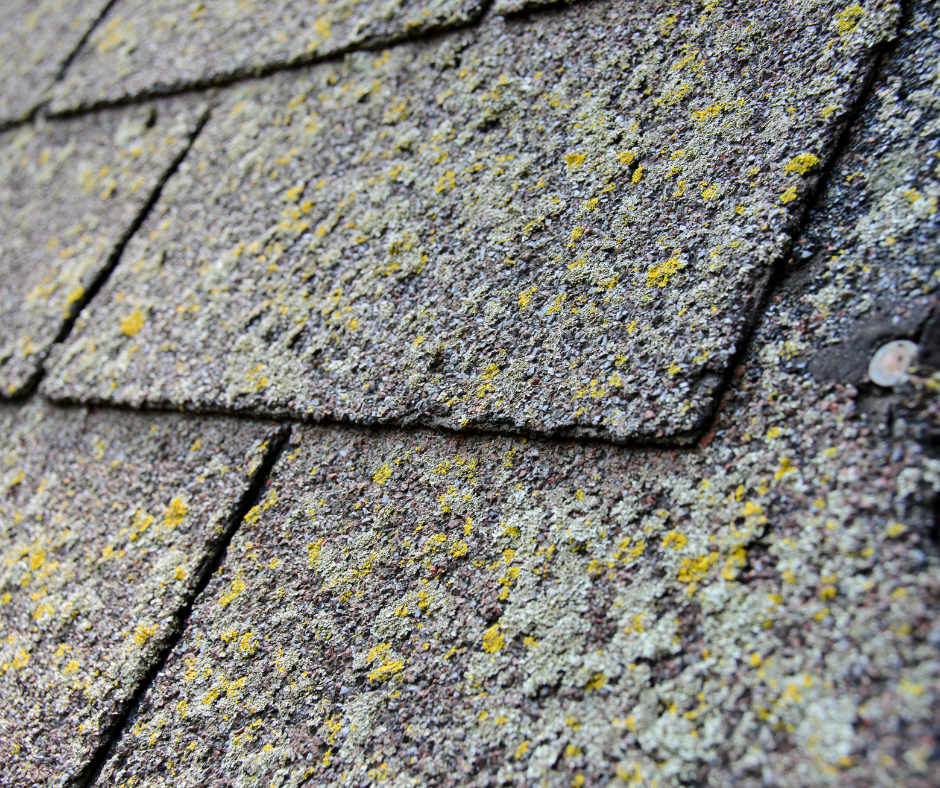
Moss thrives in damp, shaded areas, making roofs in humid or wooded environments particularly vulnerable. As moss spreads, it lifts shingles and traps moisture against the roof, increasing the risk of leaks and structural damage.
Over time, this can lead to premature deterioration of your roofing materials, leading to expensive repairs or even a full replacement.
If you want to avoid costly repairs, here’s what you’ll need to do:
Tools & Materials You’ll Need
Before you begin, gather the necessary supplies:
- Soft-bristle brush or broom
- Garden hose with a spray nozzle
- Moss-killing solution (store-bought or DIY)
- Safety harness and non-slip shoes
- Ladder and gloves
- Protective goggles and mask
Avoid using a pressure washer, as the high force can strip away protective granules from asphalt shingles and cause further damage.
5 Step Guide to Removing Moss
1. Ensure Safety First
Roof work can be dangerous, so always take safety precautions. Use a sturdy ladder, wear slip-resistant shoes, and, if possible, have a partner assist you. A safety harness is recommended for steep roofs.
2. Gently Brush Away Loose Moss
:max_bytes(150000):strip_icc()/remove-moss-from-roofs-4136874-hero-aeda36ea5d6144bc893e03a7fdfc9779.jpg)
Using a soft-bristle brush or broom, gently sweep downward to loosen and remove excess moss. Avoid scrubbing too hard, as this can damage shingles. Never scrape upward, as it can lift and loosen them.
3. Apply a Moss Killer
You can use a commercial moss remover or create a DIY solution with equal parts water and white vinegar or a mix of water and mild dish soap. Spray the affected areas and let the solution sit for about 15-20 minutes to kill the moss at its roots.
4. Rinse with Water

Using a garden hose (not a pressure washer), rinse the treated area thoroughly. Ensure water flows downward to prevent damage to shingles. Repeat the moss treatment if necessary.
5. Prevent Future Moss Growth
Once your roof is moss-free, take steps to keep it that way:
- Trim overhanging branches to allow more sunlight to reach your roof.
- Clean gutters regularly to prevent excess moisture buildup.
- Install zinc or copper strips along the roof ridge—when it rains, these metals release particles that inhibit moss growth.
- Perform routine roof inspections to catch any signs of moss before it spreads.
Protecting Your Roof Against Moss
Moss removal is essential for maintaining your roof’s health and longevity. By tackling the issue early and taking preventative measures, you can protect your home from costly damage and keep your roof looking its best for years to come.
If moss has already caused significant damage, consider consulting a professional roofing contractor for an inspection and necessary repairs.
Learn more with “What’s Causing Black Streaks (Ways to Remove Algae)” and “Algae, Mold, & Moss: How They Damage Your Roof.”
Are you dealing with moss and algae on your roof? Avoid the headache – call the experts at Rescue My Roof to get a FREE roof estimate.