A Roofing Professional’s Step-by-Step Guide to Installing a Drip Edge

The drip edge may be one of the most overlooked components of a roofing system, but it’s an essential detail that can prevent costly damage to your roof and home.
A drip edge is a metal flashing installed at the edges of your roof to direct water away from the fascia and into the gutters. Without it, water can seep into the roof deck, causing rot and structural damage. But you can prevent this damage, and we’ll tell you how.
Rescue My Roof has been protecting roofs and installing drip edges for over a decade. We’re here to walk you through the process of a professional drip edge installation to learn how it properly protects your home.
In this article, we’ll take you through how a roofing professional installs a drip edge and why this small yet important feature is vital to the longevity of your roof.
What is a Drip Edge?
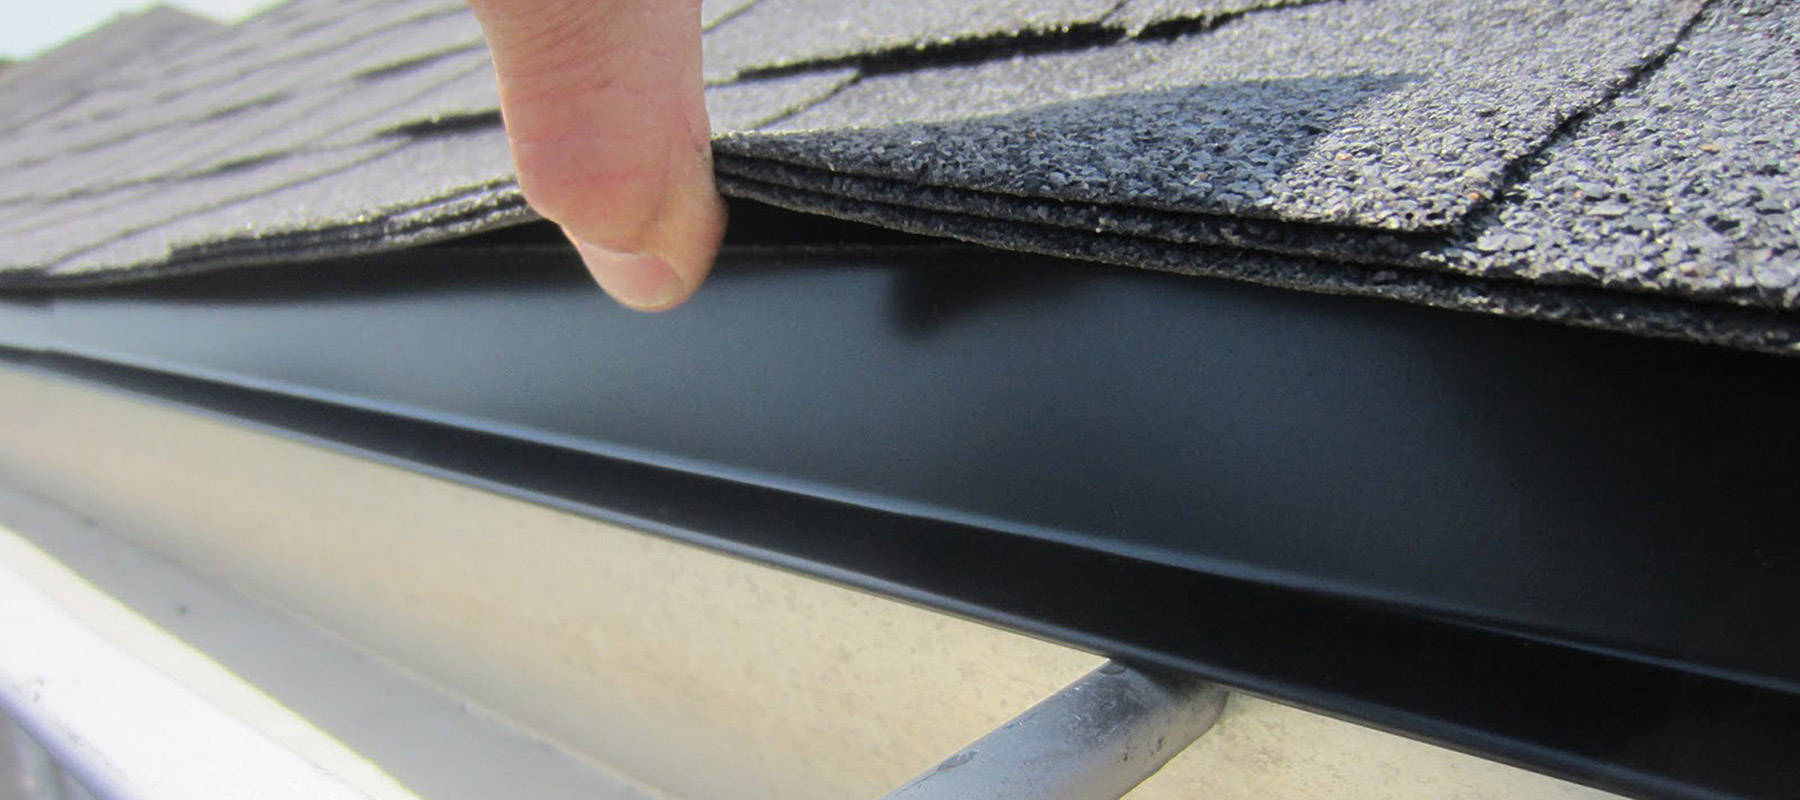
Before we dive into the installation process, it’s essential to understand what a drip edge does. A drip edge is a thin metal strip that’s installed along the eaves and gable ends of a roof. Its primary job is to guide water off the roof and into the gutter, preventing water from seeping into the underlying roof deck or fascia board.
Drip edges are typically made from materials like aluminum, galvanized steel, or copper and come in different styles (L-shaped or T-shaped) depending on the roof design.
Why is a Drip Edge Important?
Many homeowners don’t realize the importance of a drip edge until it’s too late. Installing a drip edge offers several benefits:
- Water Protection: Prevents water from getting under shingles, which can cause roof deck rot and water damage.
- Improved Gutter Functionality: Guides rainwater directly into the gutter, enhancing the efficiency of your drainage system.
- Enhanced Roof Longevity: Protects the roof’s edge from damage caused by water and wind, which can extend the lifespan of your roofing system.
- Code Compliance: Many building codes now require drip edges for roofing installations, especially for new constructions or major roof replacements.
How Roofing Professionals Install a Drip Edge

The installation of a drip edge requires skill and precision to ensure proper function. Here’s a step-by-step breakdown of how roofing professionals typically handle the process:
Step 1: Select the Right Material
Before installation begins, professionals will select the appropriate drip edge material based on your roof type and climate. Aluminum is often used because it is lightweight and resistant to rust, while galvanized steel and copper are chosen for added durability and aesthetic appeal.
Step 2: Prepare the Roof Deck
If the roof is being newly installed or replaced, the roof deck needs to be prepped. This involves removing old shingles or roofing material and cleaning the area around the edges to ensure a smooth surface. If the roof deck shows signs of rot or damage, repairs must be made before the drip edge installation begins.
Step 3: Install Underlayment
Underlayment is a water-resistant barrier that goes directly on the roof deck before shingles are installed. Roofing professionals will install this barrier and extend it slightly over the roof’s edge but beneath the area where the drip edge will be placed.
Step 4: Measure and Cut the Drip Edge
Next, the roofing contractor will measure the perimeter of the roof where the drip edge will be installed—this includes both the eaves and gable ends. The drip edge is then cut to the appropriate lengths using these measurements. To ensure clean corners and overlapping joints, professionals cut the drip edge at an angle near the roof’s edges.
Step 5: Install the Drip Edge Along the Eaves
The first section of the drip edge is installed along the eaves of the roof, beneath the underlayment but above the fascia. Roofing professionals use roofing nails or screws to secure the drip edge in place. Fasteners are typically spaced about 12 inches apart to ensure stability.
Pro Tip: Nails should be placed far enough back from the edge to avoid any water pooling near the fastener holes, which can lead to leaks.
Step 6: Install the Drip Edge on Gable Ends
After securing the drip edge along the eaves, the process continues along the gable ends of the roof. Unlike the eaves, the drip edge on the gables is installed on top of the underlayment. This placement helps ensure maximum water shedding, as rain will flow away from the fascia and roof edges.
The edges of each drip edge strip are overlapped slightly (about 2-3 inches) to ensure there are no gaps where water could seep through.
Step 7: Seal the Corners
To provide extra protection against leaks, professionals will seal the corners where the drip edge pieces meet. They may use roofing cement or other waterproof sealants to secure the overlap, ensuring that water doesn’t infiltrate at the joints.
Step 8: Install Shingles or Other Roofing Material
With the drip edge installed, the next step is to install the shingles or roofing material of choice. The first row of shingles will typically overlap the drip edge, creating a seamless transition between the roofing material and the flashing. This ensures that rainwater flows down the roof and off the edges, guided by the drip edge.
Common Mistakes to Avoid with Drip Edge Installation
Even small errors in drip edge installation can result in water damage or ineffective drainage. Here are some common mistakes roofing professionals avoid:
- Improper Overlapping: Drip edge pieces should overlap by at least 2 inches to prevent water from sneaking between the sections.
- Incorrect Fastener Placement: Fasteners placed too close to the edge can create openings where water can seep in.
- Skipping the Drip Edge: Some roofers might skip installing a drip edge entirely, especially on older roofs. However, it’s essential for roof protection and should not be omitted.
- Not Sealing Joints: Failing to properly seal corners and joints can lead to leaks over time.
Why You Need a Professional for Drip Edge Installation
Though a drip edge may seem like a small component, its installation requires expertise to protect your roof properly. A professional roofer knows the best materials, techniques, and safety protocols to ensure the drip edge looks clean andfunctions effectively to keep your home safe from water damage.
By installing a drip edge correctly, a roofing professional helps extend the lifespan of your roof, improve water drainage, and protect your home’s structure for years to come.
Learn more with “Is a Drip Edge Necessary (Top 5 Benefits)” and “7 Roofing Facts Homeowners Must Know.”
Is your roof old or leaking? Rescue My Roof can help. Contact us today to get a free estimate.