What to Expect At A Storm Damage Roof Inspection

When a storm wreaks havoc in your neighborhood and causes unexpected damage, it’s overwhelming. You could be responsible for costly roof repairs in the blink of an eye.
When your roof has storm damage, it can be stressful not to know what’s next. Should you find a roofing contractor? What happens during a storm damage roof inspection?
Rescue My Roof has helped homeowners with their storm-damaged roofs for over a decade. We’ll help you understand what happens during a storm damage roof inspection, so you’re not blindsided.
In this article, you’ll learn what to expect before, during, and after your storm damage inspection. And in the end, you can download a storm damage checklist to see what to inspect on your roof.
What Should Homeowners Do Before A Storm Damage Inspection?
Storm damage is no joke. If your roof is experiencing missing shingles and leaks, you don’t want to wait to call a roofing contractor.
But are there any responsibilities homeowners should take care of before the inspectors arrive?
If you’re already going through that never-ending checklist of things to do – take a pause.
Before you begin to fret that you must clean your entire home to make it presentable (something that isn’t required), here’s a comprehensive list of things you should focus on.
1. Clearing A Pathway To Your Attic
During a storm damage inspection, there are two main areas of focus: your home’s exterior and the attic.
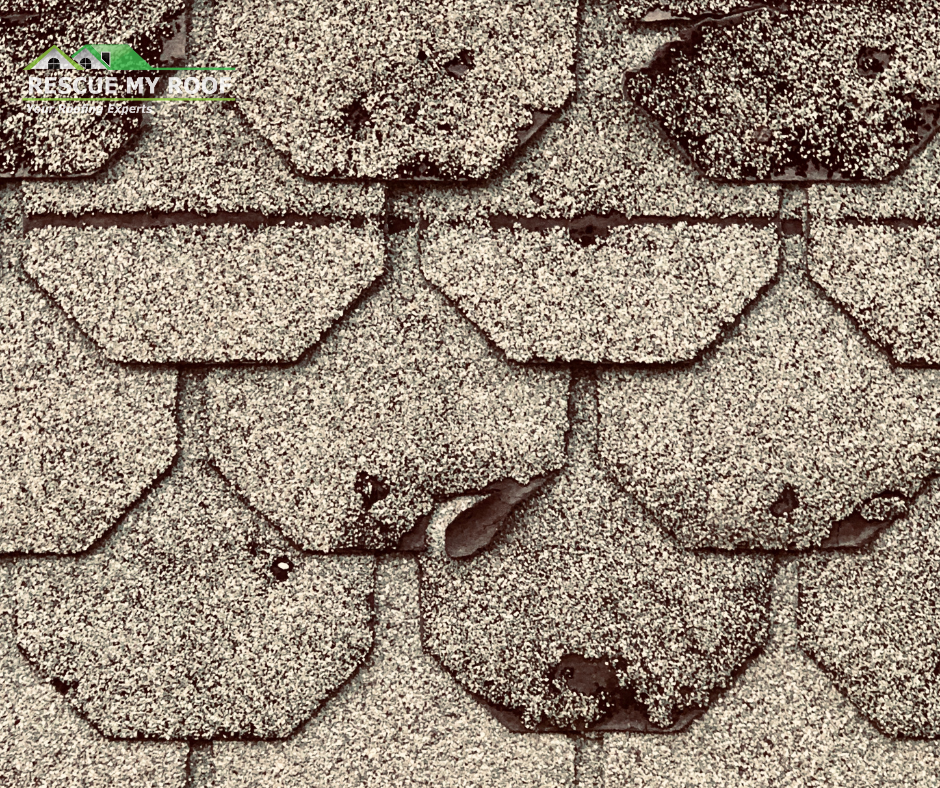
When walking the home’s exterior, inspectors will inspect and document any damage they see at the ground level.
This can include dents or dings to your mailbox, siding, garage door, and more. Additionally, they will inspect the roof for any hail strikes, missing shingles, or damage to flashing.
All of the damage will be documented in photos to be sent to your homeowner’s insurance company.
The next stop is the attic space. Taking a look in the attic allows them to see if there’s any water damage or leaks due to the storm.
If your estimate is to be as accurate as possible, you’ll want to let the inspector into your attic space. Clearing space in your home to easily access this attic will speed up the inspection process.
So if you feel the urge to clean your entire house, know that the inspector is only really interested in your roof and attic space.
2. Be Aware of Any Existing Roof Issues
While you may not be a roofing professional, it’s still essential for homeowners to be able to recognize damage to your home’s exterior and roof.
Walking the perimeter of your home and taking note of the damage will ensure you are familiar with the extent of the storm damage.
Doing this before the inspector arrives will allow you to know just how thorough the inspection is. If you feel they may have missed any damage, you will be able to better communicate your needs.
3. Call Your Homeowner’s Insurance
Do you suspect your roof has suffered storm damage? A roofing contractor is not the only person you’ll want to call.
Calling your homeowners insurance may make getting a storm damage inspection easier. Your insurance company may send out their adjuster to complete the inspection or ask you to get multiple roofing quotes.
Knowing precisely what you must do prior to filing an insurance claim will make the process less stressful. Give your insurance company a call to determine what they need before they can file a claim.
What to Expect During Your Roof Inspection
Here’s the fun part – the actual storm damage inspection.
When you don’t know what to expect, the prospect of an inspector coming to your home can be terrifying. In reality, it’s not that bad.
Here’s a play-by-play of what happens the day of your appointment.
1. Pre-Appointment Phone Call
Though you have a set appointment time, often, you are not the only individual the inspector is working with.
During the phone call, they will give you an estimation of how long it will take for them to arrive at your home. If they are unable to reach you, they will leave a message.
2. Walkthrough
After introductions and icebreakers are made, your roof inspector will walk the exterior of your home.
This is when you can point out any issues you have noticed with your roof.
The inspector will look for damage to ground-level objects, such as dents in downspouts, holes in window screens, and missing siding.
3. Inspecting Your Roof
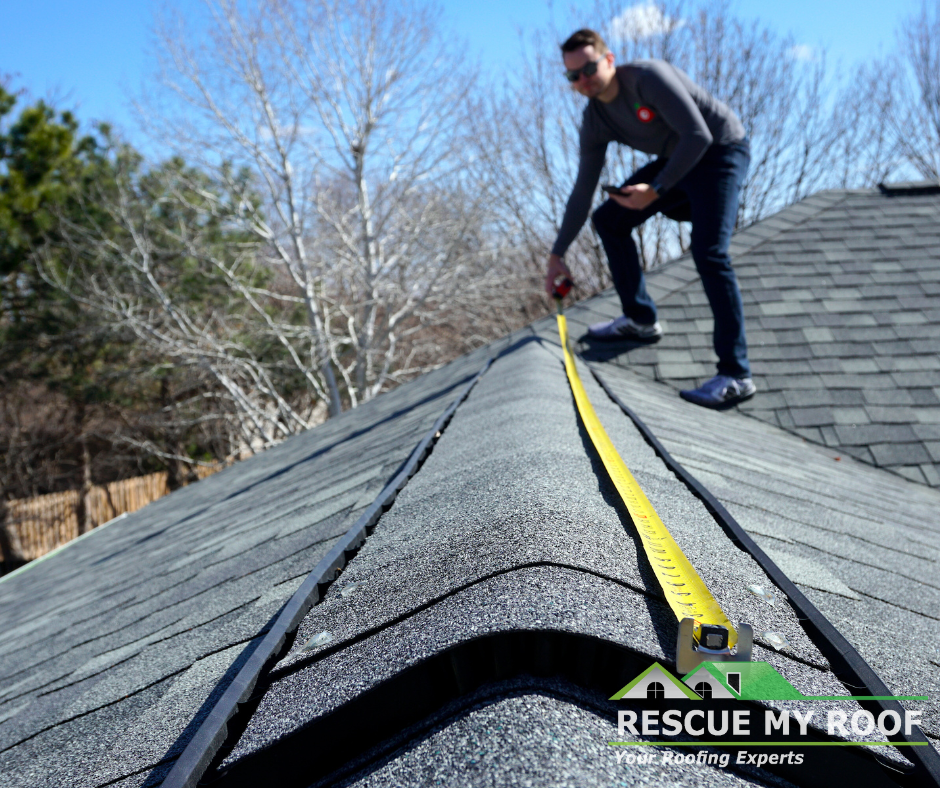
After the ground level has been examined, it’s time to inspect your roof.
The inspector will access your roof to inspect your gutters and the condition of your roof’s shingles. Using chalk, they will mark any areas with missing shingles or hail strikes and document the damage through photos.
5. Attic Inspection
Again, the inspector will have to gain access to the attic to get an accurate estimate and view of the damage.
They will evaluate the attic’s structure and see if they can spot any leaks or water damage from the storm.
If they find any concerns, they will document them to send to your insurance company.
5. Putting Together the Estimate

An inspector will not only tell you if there is storm damage, but they will also put together an estimate.
A roofing estimate will allow you to see the cost of fixing all of the storm damage. Depending on the contractor, they may also include estimates for the siding and gutters.
In your estimate, they will factor in the labor, materials, and complexity of your roof to calculate the final cost. However, there will always be variations in this cost especially if you are looking at options for shingle materials or unexpected roof fixes.
The inspector will review all of your options after they have tabulated everything, and will present the estimate to you.
6. Filing an Insurance Claim
After the inspection, your inspector will send you the estimate and any photos they took of the damage. When you file a claim, you will be responsible for sending this information to your homeowner’s insurance.
After your insurance company reviews your claim, they may send out their own adjuster or ask that you get more estimates for different roofing companies.
If they approve your claim, you can find a roofing contractor and begin roof repairs.
Making an appointment for a storm damage roof inspection can be stressful. But in reality, the only responsibilities that fall on the homeowner are clearing a path to the attic, calling a roofing contractor, and contacting your homeowner’s insurance.
Next Steps After a Post-Storm Roof Inspection
Now we’ve cleared up all the unknowns of the roof inspection process; it’s time to get started.
You can download Owens Corning’s Roof Storm Damage Checklist to find out what should be inspected in the aftermath of a storm.
Additionally, you can learn more with “What Happens During A Storm Damage Roof Inspection?”
Do you suspect your roof has endured storm damage? Rescue My Roof has over a decade of experience in inspecting and correcting storm damage. Contact us today to schedule your free roof inspection.