Tips to Properly Nail Asphalt Shingles

It’s no secret that roof replacements are an expensive investment. So, when you finally take the plunge, you want to ensure your roof is done perfectly.
When it comes to roofing, nailing shingles may seem straightforward, but it’s a critical step that can make all the difference in the longevity and performance of your roof. Properly nailed shingles not only enhance the aesthetic appeal of your home but also ensure protection against the elements.
Rescue My Roof has been working with homeowners for over a decade, helping them get roofs that will keep their homes and families safe for a lifetime. We educate homeowners on the best roofing practices so they know when to step in and advocate for themselves.
This article will walk you through the essential steps and tips for nailing shingles correctly to achieve a durable and watertight roof. Ultimately, you’ll know how to spot whether or not your roof has been properly nailed and maximize your roof’s lifespan.
How Are Roof Shingles Installed?
Roofing manufacturers have guidelines for installation and materials so that your roof has the maximum protection. Roofing contractors must follow these guidelines to provide the best roof replacements for homeowners.
If roofing shingles are not nailed down properly, it negatively affects the integrity of your roof and can even void roof warranties. This is especially true for DIY roofing.
Here are the steps roofing professionals follow:
Installing Asphalt Shingles
Before you begin nailing shingles, properly preparing the roof surface is crucial. After ensuring the roof deck is clean, dry, and debris-free, any decking that must be replaced is laid down.
Then, the underlayment is installed over the decking. Underlayments include synthetic felt and ice and water barriers to protect against leaks.
After completing all the layers, the shingles get laid on top. They go layer by layer, working from the bottom to the top. Then, the roof peak, valleys, flashing, and all appropriate areas are covered, using proper nailing techniques to seal the shingles.
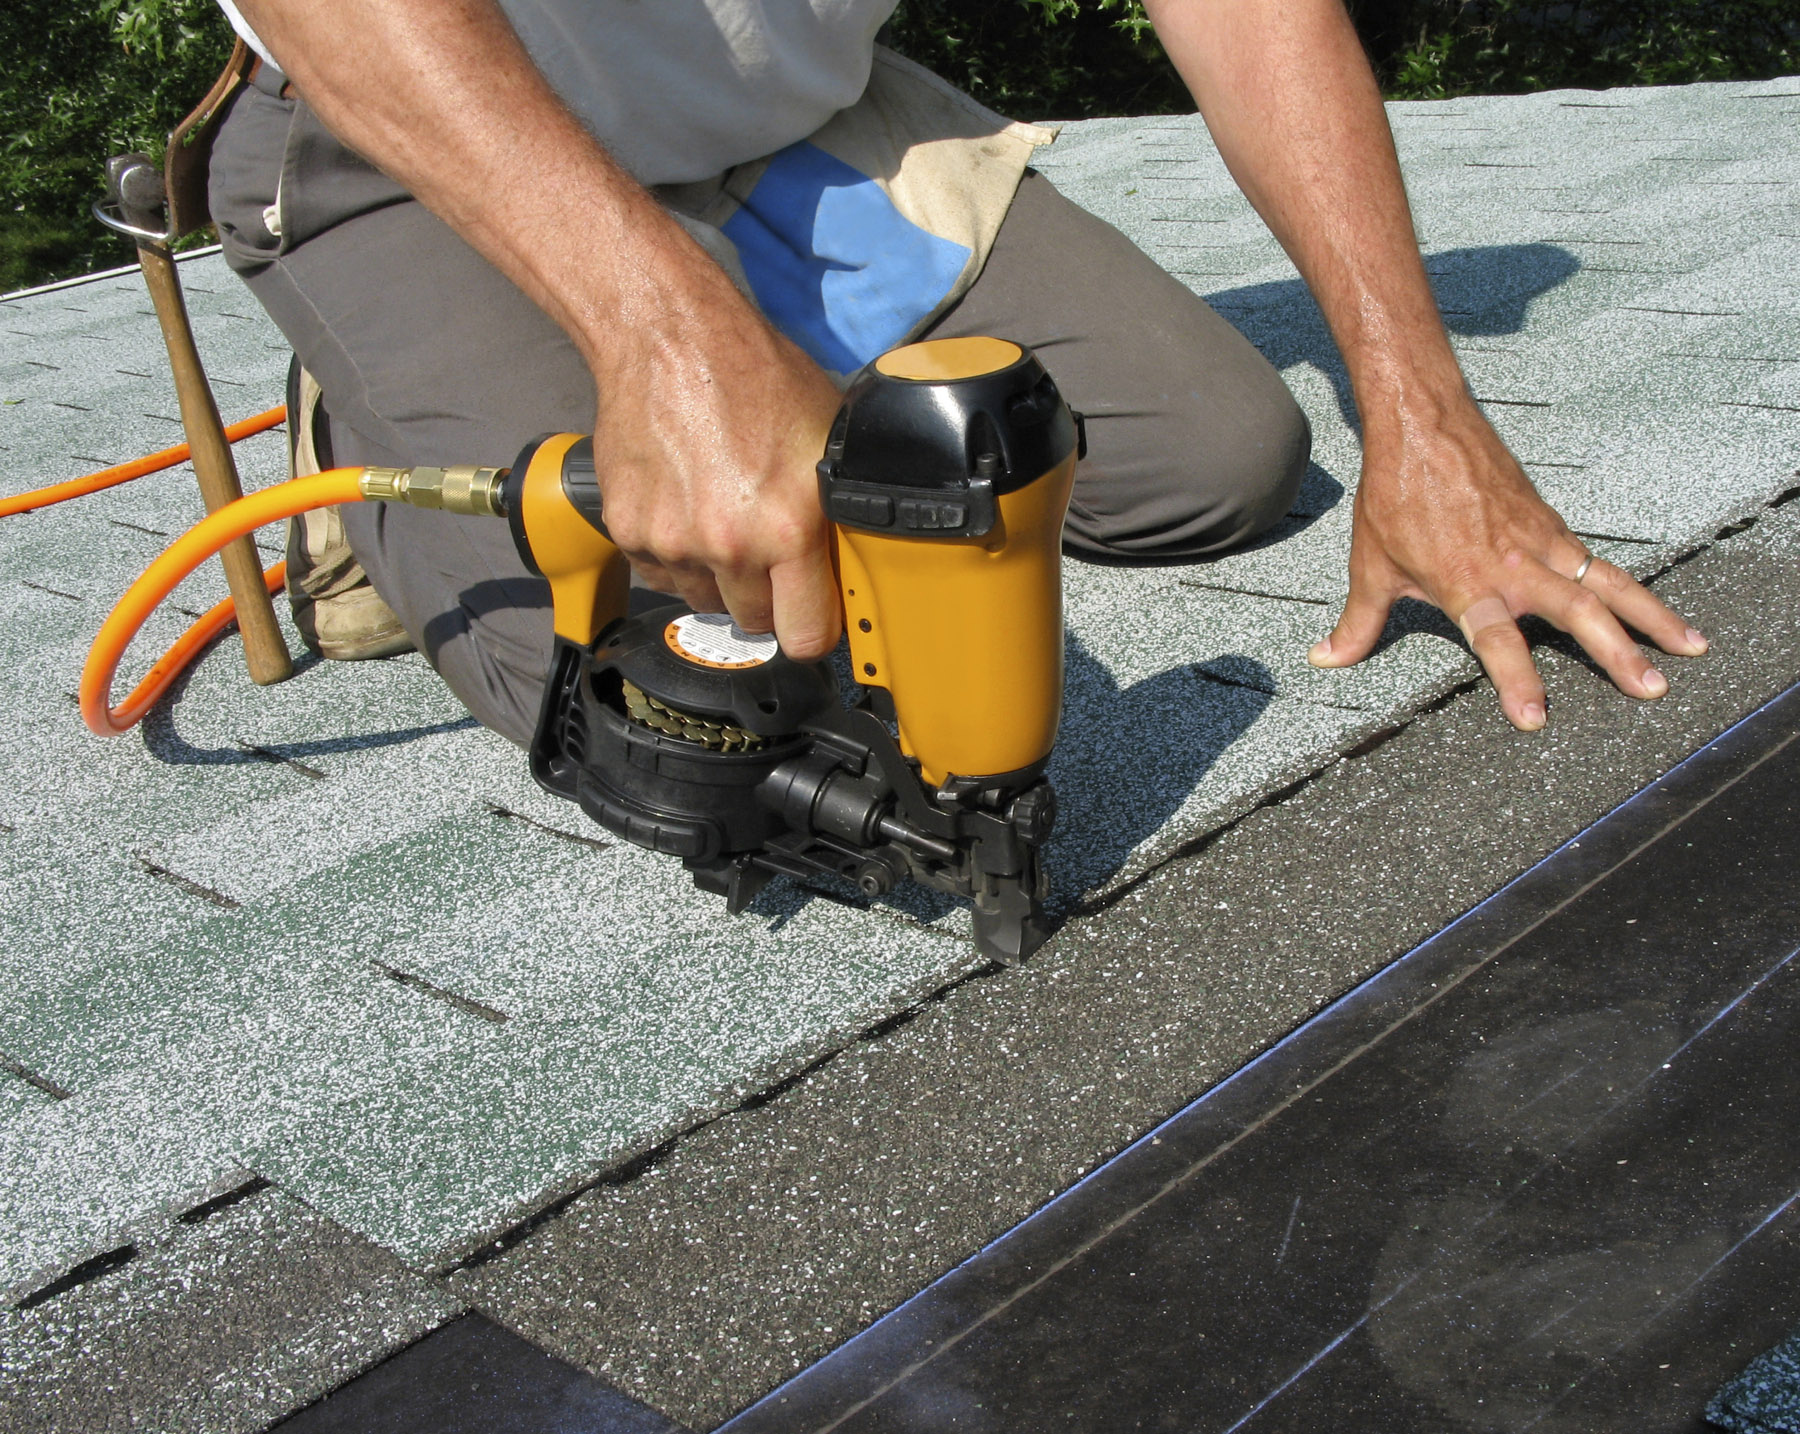
How to Nail Shingles Down (Nailing Tips)
Knowing how to correctly nail asphalt shingles to preserve your warranties and protect your home from leaks. Here are some tips for nailing asphalt shingles and keeping your home safe for a lifetime:
- Roofing nails can be made of aluminum, copper, stainless steel, or galvanized steel.
- Nail size and length can vary by roofing material—always use the proper nail specifications laid out by the manufacturer.
- Roofing nails should be able to penetrate 3/4 inch of the roof deck (the bottom-most layer)
- As stated above, roofing nails should be between 1 1/4 and 2 inches long to penetrate the deck.
- The International Building Code requires nails to have a ⅜-inch head and a minimum 12-gauge shank of the nail.
- They shouldn’t be over-driven or under-driven; if the nail goes crooked, remove it and place a new one.
- Most shingles require either a 4 or 6-nail pattern per shingle to ensure a tight seal.
- Roofing nails should be placed in the roof shingle’s cut-out area. This ensures they stay in place and don’t risk exposure, which can cause corrosion and leaks.
- Any underdriven nails can be appropriately tapped in with a hammer. Overdriven nails should be removed, and the holes should be filled with roofing asphalt cement.
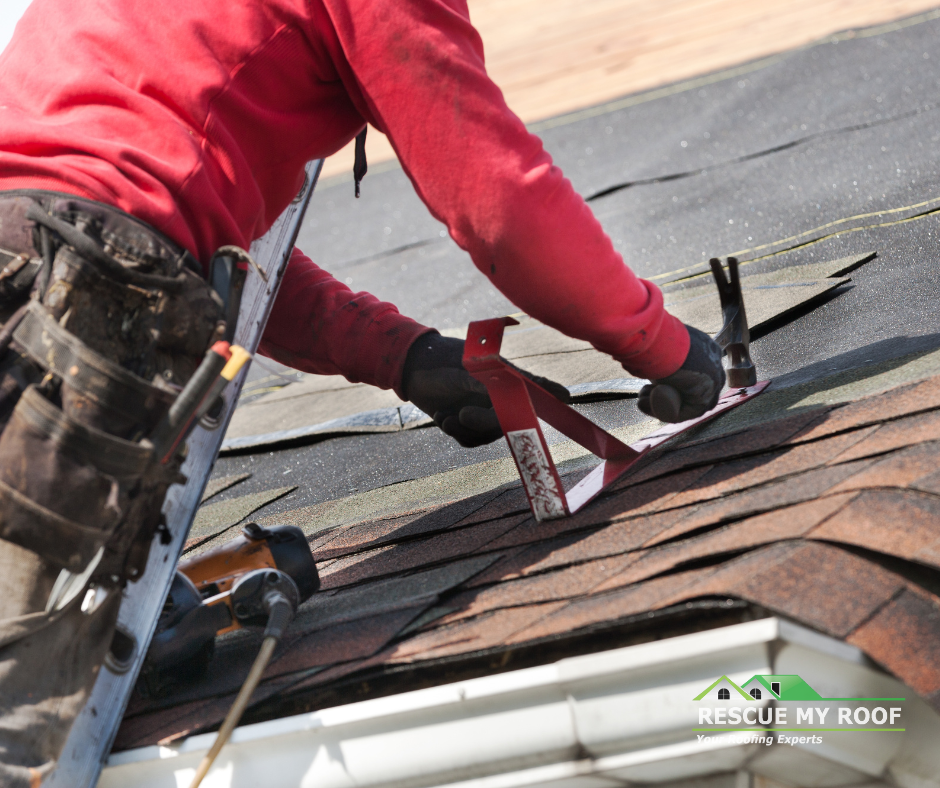
Nailing Technique
Now comes the critical part: nailing the shingle. Here’s how to do it right:
- Use the correct type of nails: Roofing nails are designed for this purpose. They should be long enough to penetrate the decking but not so long that they go through the roof. Typically, 1 1/4 to 1 1/2 inch nails are suitable.
- Nail placement: Drive the nails into the shingle in the designated nailing area, usually just above the adhesive strip. Refer to the manufacturer’s guidelines for the correct nailing zone, as this can vary depending on the type of shingle.
- Angle and depth: Nails should be driven at a slight angle, about 10-15 degrees off vertical. This angle helps secure the shingle without causing it to lift. Ensure the nail is flush with the surface but not overdriven, which can damage the shingle.
- Quantity: Typically, you’ll use four nails per shingle. However, the exact number may vary depending on local building codes and the manufacturer’s recommendations.
Getting the Best Results on your Roof Replacement
Correctly nailing shingles is a fundamental skill for any roofing project. It ensures the integrity of your roof, protecting your home from the elements for years to come. While the process may seem straightforward, attention to detail and adherence to best practices are essential.
If you’re uncomfortable with the task, consider hiring a professional roofing contractor to ensure the job is done correctly, providing you with peace of mind and a roof that stands the test of time.
You can learn more about working with roofing professionals with “Negotiation Roof Prices: 6 Things A Homeowner Should Know” and “Roofing Contractors to Avoid (The 7 Signs).”
If you need a roofing professional in southeastern Wisconsin, Rescue My Roof is ready to help. Contact us today to get a free estimate.