DIY Roof Replacement: 13 Tools You’ll Need to Get Started

You’re probably here because a new roof is expensive. When you have kids with braces or need to get the brakes fixed on your car, or even other outstanding expenses to be paid, you probably don’t want to foot the bill for a full roof replacement.
However, if you have the tenacity and the will to succeed, you may find yourself wanting to save on labor costs by installing a new roof by yourself: DIY style.
Whether you simply want to do the demo yourself and have a professional take over the shingles, or do the entirety of the project yourself, you’re going to need some insight into the process.
Rescue My Roof began as a team of firefighters with a passion for roofing, but we started off at the same place you are now. We did all of the work ourselves- without a contractor. And we have compiled a list of tools that we had in our own toolkits for you to follow.
Using our expertise, we’ve developed a series of articles that will help you attempt your first DIY Roof Project. In the first installment, here are all of the tools you’ll need for your project. Everything from basic necessities to those fancy tools we use in the industry. This way, you’ll be able to decide if you are up to the challenge.
1. A Hammer
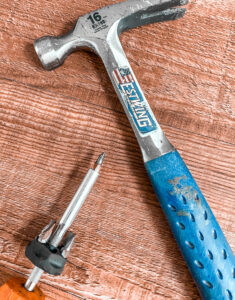
A hammer is useful in every household- but it is also particularly helpful during a DIY roof replacement. While using a nail gun is also common (we’ll discuss that later) you’ll find a hammer helpful, too.
When ripping off old shingles and synthetic felt you may find rogue nails sticking out of the roof. A hammer is necessary to either secure them in place or take them out completely.
Or if you install an ice and water shield, there are specialty nails with plastic caps that are useful for ensuring your roof is completely waterproof. These will not work with a nail gun or any other automatic tool, so it is best to have a hammer on hand.
2. A Screwdriver
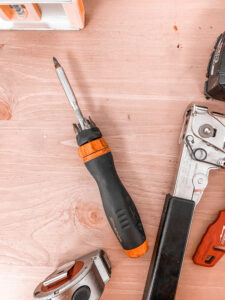
Out with the old, in with the new. Tearing off pieces of the existing roof can be tricky, so you might want to break into the old tool kit to find where your screwdriver is hiding.
While many things like a shovel or pry bar work for tearing up old tile, if you come across an area that is particularly tricky, having a screwdriver handy to get more precision in prying it up will save you time and effort.
3. A Shovel or Pitchfork
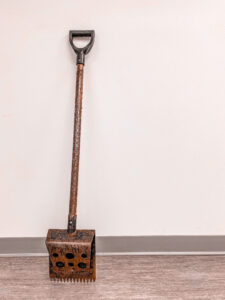
Pitchforks are useful for more things than just forming an angry mob or going to hunt down monsters. They can be especially helpful during the demolition process as well.
Bigger tools, like shovels and pitchforks, can easily tear off those old shingles in larger pieces and save you some time on the job.
Save yourself the trouble of having to make an emergency run to the store during your project by putting either of these items on your list now.
4. Nail Gun
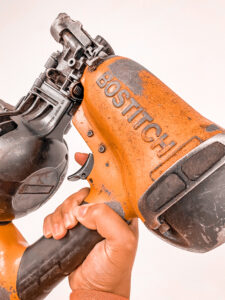
Trust me, you’ll thank me later for this.
Roofs have layers. Like an onion. Or a parfait (Shrek, anyone?), and all of those layers will be easily installed by a nail gun rather than by hand.
The ice and water shield, synthetic felt, and the shingles themselves can be attached to the roof by a nail gun. Using this automated tool can make your project go by much faster, and ensure precision throughout the entire roof. You’ll definitely want to add a nail gun to your cart for your DIY roof replacement.
5. Air Compressor and Hose

An air compressor is a gas compressor that converts different forms of energy into pressurized air. This air will flow through a hose connected to your nail gun, which then blasts the nail into whatever material you are working with.
Without all the science and mechanics behind it: An air compressor is required for your nail gun to function properly.
6. Razor Blade or Sharp Knife
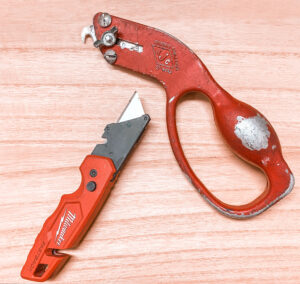
You’ll find this tool handy in a lot of home projects. Everything from kitchen backsplash to-you guessed it- roofs.
You can use a razor blade to cut through your shingles so that you can line them up properly with the design or the edge of your roof.
The blade can be awfully sharp, so make sure to always be cautious and wear gloves when necessary.
7. Aviation Snips
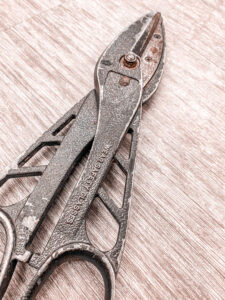
If you are adding flashing around a chimney, the edges, or any other roof penetrations you’ll want to invest in aviation snips.
An aviation snip is a tool that looks like a pair of pliers and functions very similarly, but the prongs consist of sharp blades to help cut through pieces of metal.
Flashing, thin sheets of metals like aluminum that help waterproof different sections of your roof, will need to be measured and cut. Using the aviation snips will make this job, and your DIY roof replacement, go much, much faster.
8. Caulk Gun
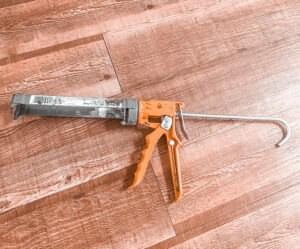
Caulking is an important step in the roofing process because it can further help prevent leaks. However, the traditional methods that may work in your kitchen or bathroom will be time-consuming when working on a roof.
Using a caulk gun will simplify this process, making it both faster and less difficult. Many caulk products come in a tube, and the most efficient way to use them will be with a caulk gun that is designed to get all of the product out.
Additionally, a caulk gun will help you control how much product you are using by gauging how much product comes out at a time. This will ensure the necessary amount of product is only going where you need it.
9. Circular Saw
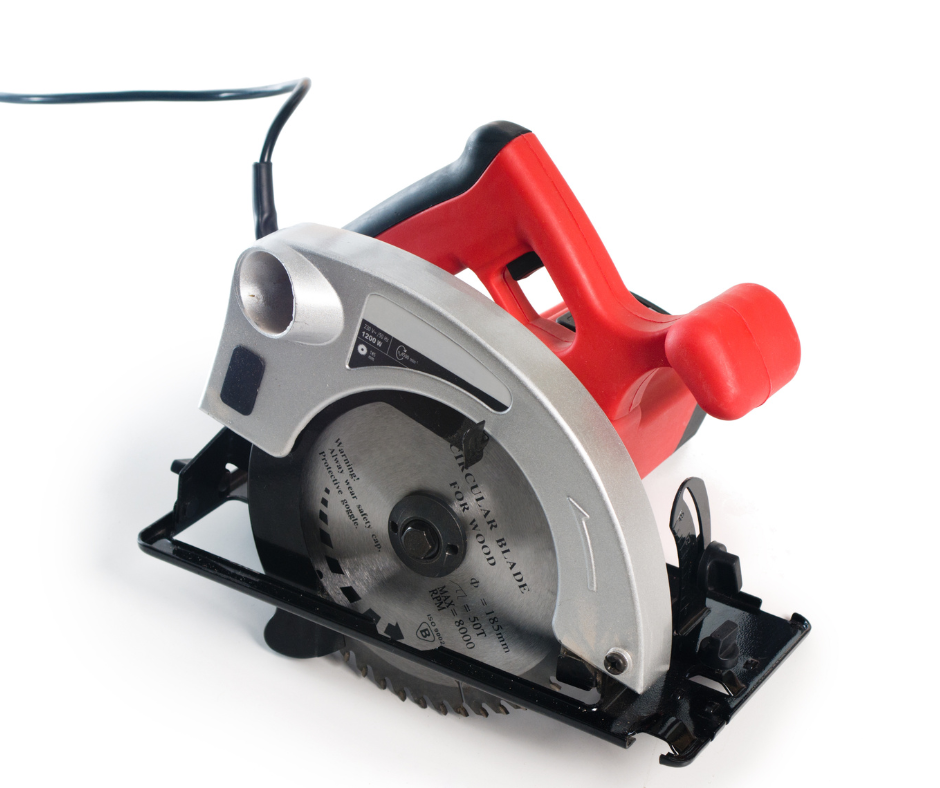
When replacing a roof, especially one known for leaks, you may come across some decking that needs to be replaced. If you see a piece that has a lot of water damage, discoloration, and mold, it is time for it to go.
If there are only certain pieces that are damaged, instead of tearing it all off and starting fresh you can use a circular saw to cut out the damaged pieces.
Warning: this product can be dangerous. Make sure to have proper training and supervision when using this tool.
10. Pry Bar

If you are having difficulty using heavier items like a shovel or pitchfork to remove old materials from your roof, a pry bar may be a better fit for you.
It is smaller, lighter, and still has the precise edge needed to get under the shingles and lift them up. And as a bonus, they are typically cheaper than larger tools used for the same purposes, making them perfect for a DIY roof replacement.
11. A Tape Measure
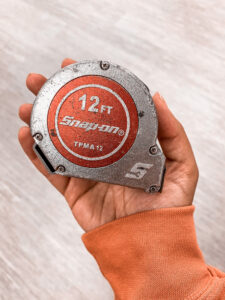
One of the downfalls of the human condition is that we believe when we are beginning a project that we won’t have to measure anything. Who needs to measure blinds to make sure they fit the windows exactly? Who needs to make sure that the kitchen table isn’t too big for the dining room? I can just guesstimate, right?
Well, you could. You might not like the results though. How often using that method have you had to run back and forth to the store to exchange a set of blinds for the fourth time?
Using a tape measure during the roofing project will not only save you time- it will save you money. You will know exactly the right amount of product you will need to purchase to finish the entirety of your roof. And you won’t have to make any additional purchases later on because you don’t have enough product.
Want to know how to estimate the full square footage of your roof using a tape measure? Read How Much Does a Roof Replacement Cost?
12. Level
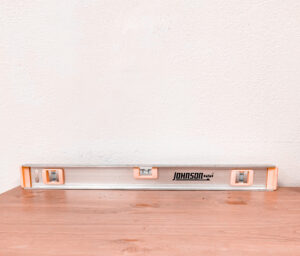
A level can be useful for determining how steep your roof is. Remember when you said you didn’t need to learn about fractions or slope or the x-y-z axis to make it in the real world? Well, I have some bad news for you. You’re going to have to remember back to your math class days to determine the slope of your roof.
You can use a level to determine the slope of your roof. This will help to decide whether or not you and those helping will need to wear safety gear like harnesses while working on the roof.
13. Harness
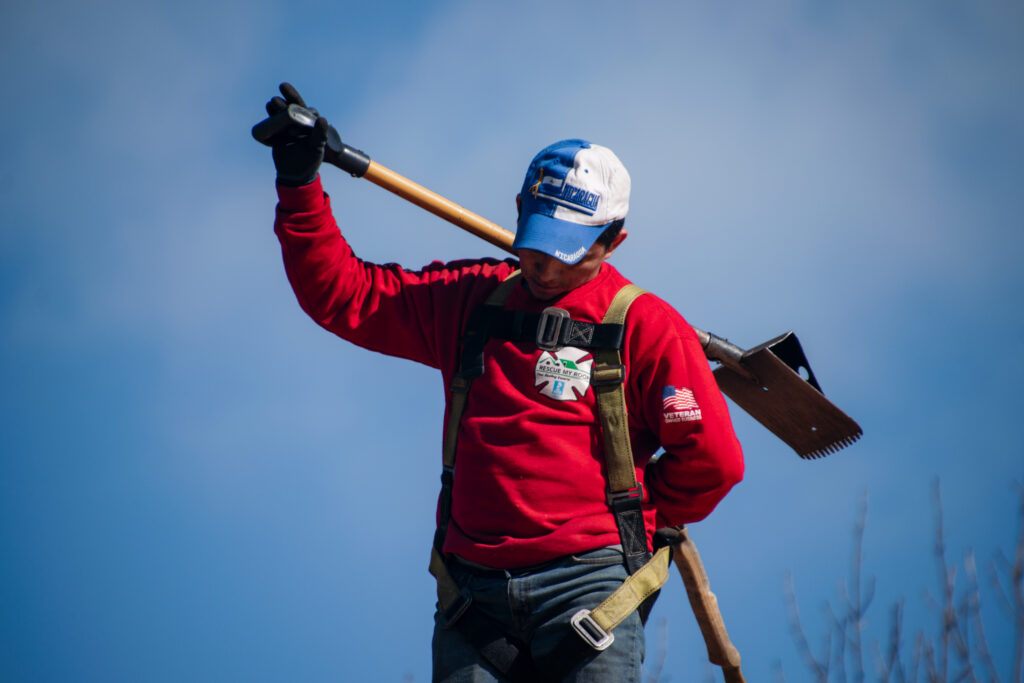
Lastly, one of the most important things you could buy to begin working on your roof is safety gear.
There are other purchases you can (and probably should) make like safety goggles and glasses, but depending on the pitch (or slope) and height of your roof, a harness could make the difference between life or death.
The last thing you want is for someone to get hurt or be in a fatal accident while working on your roof. Using a harness and making sure everything is attached safely to the roof will help avoid any severe roofing accidents.
What Else Should I Know About a DIY Roof Replacement?
This list is just the beginning of getting started with your next roof installation. After reviewing this list, you should have a pretty good idea of what you will need to get started.
If after reviewing this list you’re thinking “this project maybe a little too much for me” don’t hesitate to contact us to get your free roof estimate. Rescue My Roof can help you on your new roof journey and save you from a big DIY Project.
If you’re still wanting to continue on your DIY project, check out our next article in our DIY series. We will be discussing our favorite brands and tools that we recommend for the job.
Read More:
10 Steps to Installing a New Roof: What You Need To Know